Drywall Repair in Tucson: A Complete Guide
Drywall damage is one of the most common home repair calls we receive throughout Tucson. Whether it's a doorknob punched through a wall, nail pops surfacing after years of thermal movement, or water stains from a slow leak, drywall problems are a fact of life in Southern Arizona. The good news is that most drywall repairs are manageable — if you understand what you're dealing with and choose the right approach for the right size damage.
This guide covers everything a Tucson homeowner needs to know: why our local climate makes drywall particularly vulnerable, how to categorize the damage you're looking at, what you can realistically do yourself, when to call a professional, and what the whole process should cost at current rates.
Why Tucson Homes See More Drywall Damage
Tucson's climate is harder on drywall than most homeowners realize. The desert sun is relentless, temperatures routinely swing 40–70°F between day and night, and monsoon season brings bursts of high humidity into an otherwise bone-dry environment. These aren't just interesting weather facts — they translate directly into structural movement that your home's drywall has to absorb every single day.
Thermal Movement and Joint Stress
When temperatures climb to 110°F in the afternoon and drop to 75°F after dark, every component of your home expands and contracts. Wood framing, steel studs, concrete block, and the drywall itself all move at different rates. That constant stress is concentrated at the weakest points — the taped joints between drywall panels. Over time, that tape can crack, bubble, or separate entirely. This is why hairline cracks along drywall seams are so prevalent in Tucson homes that were perfectly fine when first built.
Stucco Cracking Transfers Inward
Most Tucson homes have stucco exteriors, and stucco is notorious for developing cracks — again, primarily from thermal movement. When an exterior stucco crack is significant enough, the movement that caused it can transmit through the sheathing and affect the interior drywall. If you see a crack on your interior wall that seems to align with a stucco crack on the outside, you're seeing exactly this phenomenon.
Adobe and Block Construction
Tucson has a large inventory of adobe and concrete masonry unit (CMU) block homes. These construction types are beloved for their thermal mass and energy efficiency, but they present unique drywall challenges. Drywall in these homes is often furred out from the masonry wall, and any moisture migration through the block can damage the drywall long before it's visually obvious. Additionally, fasteners driven into furring strips have less holding power than studs, contributing to nail pops and surface fastener failures.
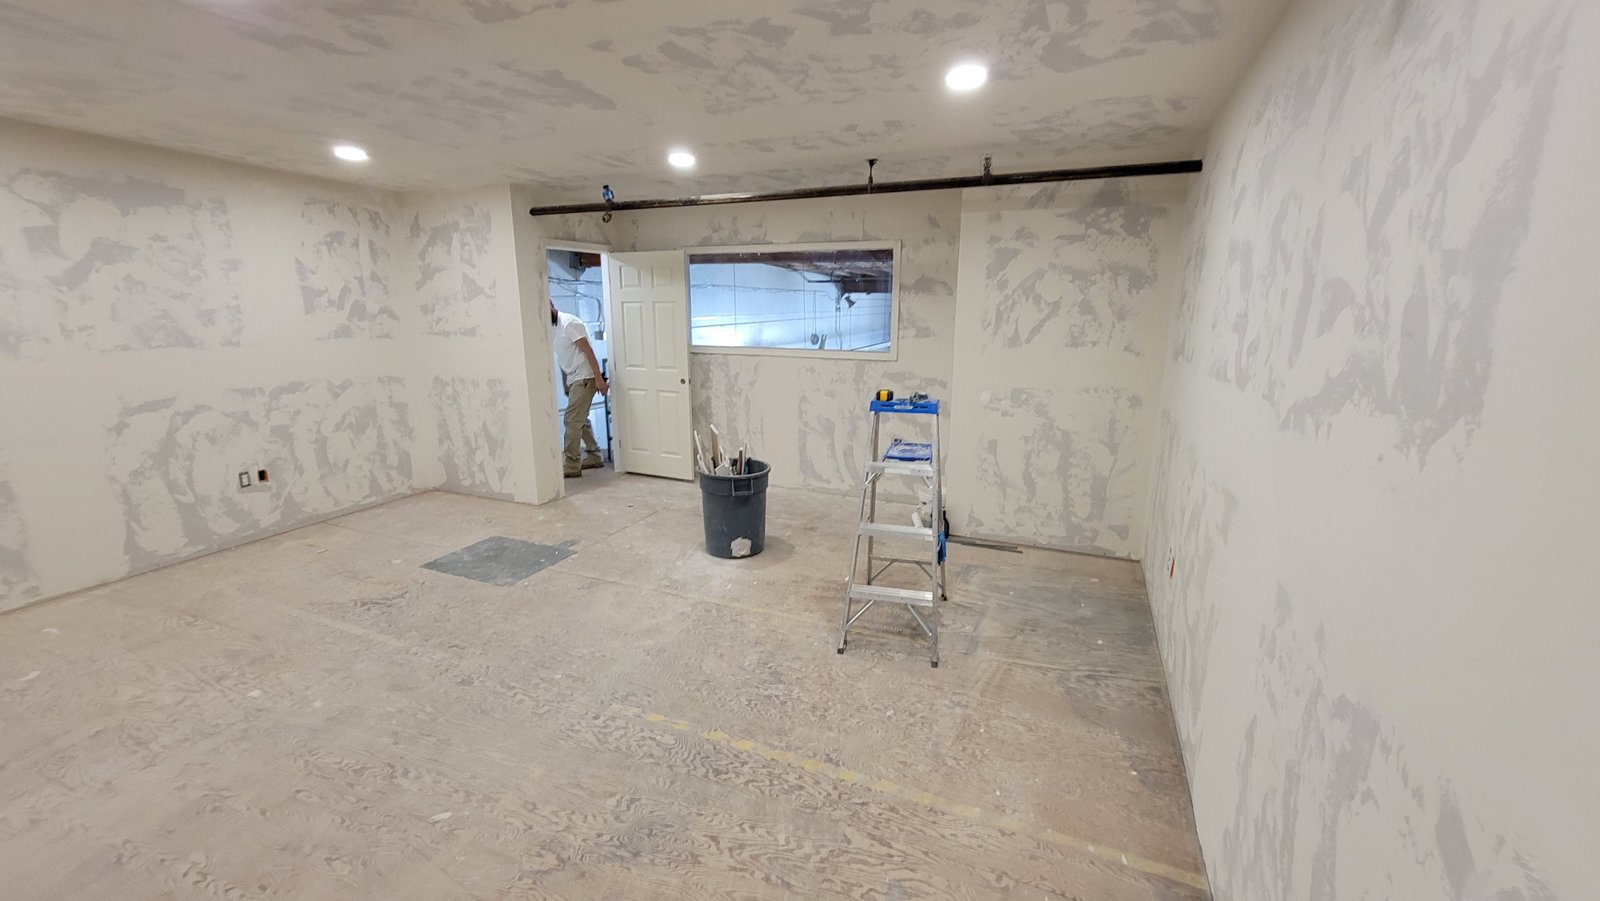
Types of Drywall Damage: Know What You're Dealing With
Before you pick up a putty knife or call a professional, take a few minutes to assess the damage accurately. The type and size of the damage determines the repair approach entirely.
Nail Pops and Fastener Issues
Nail pops appear as small circular bumps or dimples in the drywall surface — the fastener has worked its way out from the framing. In Tucson, these are extremely common due to wood framing's constant expansion and contraction. The repair is straightforward: drive a new screw 2 inches above and below the popped fastener, countersink the original fastener, fill both areas with joint compound, and sand smooth.
Hairline Cracks
Hairline cracks run along joint lines or at corners. These are cosmetic in most cases and do not indicate structural problems. They can be addressed with flexible joint compound, mesh tape for added reinforcement, and careful feathering before repainting.
Small Holes (Under 6 Inches)
Small holes result from doorknobs, hardware anchors, accidental impacts, or removed fixtures. Anything under 2 inches can typically be filled with spackle or patching compound in one or two coats. Holes in the 2–6 inch range benefit from a patch kit with an adhesive backing mesh that spans the hole and provides a surface for the joint compound.
Medium Holes (6–12 Inches)
Medium holes require a different approach — you need a backing piece to support the patch. A common method is the California patch technique or the use of wood or metal backer strips screwed to the existing drywall inside the hole. A cut piece of drywall is then attached to those backers. This takes more time and skill to finish seamlessly, especially when texture matching is required.
Large Holes and Damaged Sections
Anything over 12 inches — or any area where the drywall is structurally compromised by water damage — typically requires cutting back to the nearest studs and installing a new panel section. This is standard professional territory, not because it's technically impossible for a homeowner, but because the finishing, feathering, and texture work over a large area is very difficult to make look good without experience.
DIY Repair Methods for Small Holes
Spackle for Tiny Holes
For nail holes and holes under an inch, lightweight spackle is your best friend. Apply with a putty knife, overfill slightly, let dry fully, and sand flush. In Tucson's low humidity, spackle dries very quickly — often in under an hour. Once dry, prime the spot and repaint. Two coats of spackle are sometimes needed if significant shrinkage occurs during drying.
Patch Kits for 2–6 Inch Holes
Self-adhesive patch kits are available at any hardware store and work well for this size range. Clean the edges of the hole, peel and stick the mesh patch over the hole, then apply joint compound in thin coats, feathering outward 6–8 inches from the patch edge. In Tucson, resist the urge to rush between coats — even though drying is fast, compound applied too thick will crack. Three thin coats are better than one thick coat. Sand between coats with 120-grit, finishing with 150-grit before priming.
When to Call a Professional
Large Holes Requiring Backing
If the hole is large enough to require cut-in backing pieces or new stud framing, the difficulty of achieving a flat, seamless, texture-matched result increases dramatically. Professionals have the experience to cut precise drywall pieces, install backing efficiently, and finish the repair so it's invisible under paint.
Water-Damaged Drywall
Water damage is the most important situation to handle correctly. If the drywall has been wet, you must identify and fix the source of moisture before making any cosmetic repairs — otherwise you're just covering up an ongoing problem. Once the leak is confirmed fixed and the area has dried thoroughly (often several days in Tucson's climate), the damaged drywall should be cut out entirely. Water-damaged drywall can harbor mold and has lost structural integrity. A professional can assess what needs to be removed and what can remain.
Texture Matching in Tucson
This is where most homeowners underestimate the difficulty. Tucson homes most commonly feature orange peel, skip trowel, or knockdown textures. Matching any of these convincingly requires practice and the right tools. Orange peel is sprayed on with a hopper gun or aerosol can at a specific distance and air pressure that determines droplet size. Skip trowel is hand-applied with a curved trowel in a pattern. Knockdown is sprayed and then lightly knocked flat. Getting a seamless match — one that's invisible under raking light — is a skill developed over many jobs. For any visible area, professional texture matching is worth the investment.
Cost of Drywall Repair in Tucson
Best Handyman Tucson charges $85/hour for all labor. Here's what that translates to for common drywall repair scenarios:
| Repair Type | Estimated Time | Estimated Labor Cost |
|---|---|---|
| Nail pops (multiple, one wall) | 1–1.5 hrs | $85–$128 |
| Small hole under 6" with texture match | 1–2 hrs | $85–$170 |
| Medium hole 6"–12" with backing and texture | 2–3 hrs | $170–$255 |
| Large section replacement (2'x4' panel) | 3–5 hrs | $255–$425 |
| Water-damaged section (assess + replace + texture) | 4–6 hrs | $340–$510 |
Materials — joint compound, mesh tape, drywall panels, primer, and texture spray — are billed at actual cost with no markup. Most small repair jobs require minimal materials expense.
Primer: The Step Most DIYers Skip
One of the most common mistakes after a drywall repair — whether DIY or professional — is skipping primer or using the wrong kind. Fresh joint compound and patching compound are extremely porous. Without primer, the paint soaks in unevenly and the repaired area remains visibly dull, creating a sheen difference that's obvious even with a color-matched paint. Always apply a coat of drywall primer before painting any repaired area.
Stain-Blocking Primer for Water Stains
For repairs involving water damage or existing stains, standard drywall primer is not enough. Water stains contain minerals and organic compounds that will bleed through latex paint no matter how many coats you apply. Use a shellac-based or oil-based stain-blocking primer — products like Zinsser BIN or Kilz Original — applied specifically to the stained area before any other primer or paint. This single step prevents the stain from reappearing through your fresh paint and is non-negotiable for a lasting repair.
Tucson-Specific Tips for Drywall Compound
Low Humidity Dries Compound Fast — Too Fast
Tucson's low relative humidity — often 10–25% in dry months — causes joint compound to dry much faster than the manufacturer's recommendations assume. This sounds like a benefit, but it's actually a problem: compound that dries too quickly shrinks unevenly and can develop surface cracking, especially in thick applications. To slow down the drying rate and get a better result, lightly mist the applied compound with a spray bottle of water every 30–60 minutes until it begins to firm up, or apply thinner coats than you think you need.
Monsoon Season is the Best Time to Patch
Ironically, July and August — monsoon season — actually provide better conditions for drywall work in Tucson. Relative humidity rises to 40–60%, which slows compound drying to a more workable pace. If you're planning a larger drywall project, scheduling it during the wetter months can improve your results, even though the timing feels counterintuitive.
Don't Skip the Second Prime Coat
In Tucson's climate, a second coat of primer on fresh drywall repairs is highly recommended, especially for repairs made during dry winter months. The first coat absorbs deeply into the porous compound and may not provide full sealing. The second coat levels the sheen and ensures your paint finish is uniform.
Drywall repair in Tucson is rarely just a cosmetic issue — our climate makes it an ongoing maintenance task for virtually every homeowner. Understanding the right approach for the damage you're dealing with, and knowing when professional help is the smarter call, will save you time, money, and the frustration of repairs that don't hold or don't look right. If you're unsure about the extent of damage or the texture match challenge, a quick phone consultation is always free.
Ready for a Free Estimate?
Call us or fill out the form below. We serve all Tucson areas — Foothills, Marana, Oro Valley, Midtown, Eastside, and beyond.
Request a Free Estimate
Thanks! We'll be in touch within 1 business day.